Char Siu Pork (Chinese BBQ Pork)
This Char Siu Pork recipe gives you that classic sweet and savory Chinese BBQ flavor without needing a grill or arduous cooking process. The pork is marinated overnight to absorb all the rich, aromatic flavors, then baked and basted until caramelized and slightly charred at the edges. You still get that signature glossy finish and deep flavor with the right basting and marinade. I used Lee Kum Kee to give it that extra char siu flavor kick!


It pairs perfectly with steamed rice, tossed into noodles, stuffed into bao buns, or sliced for gatherings and family-style meals.


Char Siu Pork (Chinese BBQ Pork)
Ingredients
- 1 lb pork shoulder
- 1 Tbsp garlic, minced
- ½ Tbsp salt
- 1 Tbsp brown sugar
- 1 Tbsp honey
- 2 Tbsp oyster sauce
- ½ Tbsp soy sauce
- ½ Tbsp dark soy sauce
- 2 tsp five spice powder
- 1 tsp cinnamon
- 2 Tbsp char siu sauce, I use Lee Kum Kee – it has the fermented bean curd in it
Baste
- 2 Tbsp honey diluted with 2 tsp water along with leftover marinade
Instructions Start Cooking
- In a large mixing bowl, whisk together all marinade ingredients until well combined.1 Tbsp garlic, ½ Tbsp salt, 1 Tbsp brown sugar, 1 Tbsp honey, 2 Tbsp oyster sauce, ½ Tbsp soy sauce, ½ Tbsp dark soy sauce, 2 tsp five spice powder, 1 tsp cinnamon, 2 Tbsp char siu sauce

- Add the pork and coat thoroughly in the marinade. Cover and refrigerate overnight (at least 8 hours, up to 24 hours for deeper flavor).1 lb pork shoulder

- Preheat the oven to 425°F. Line a baking sheet with parchment paper.
- Arrange the pork on the baking sheet, reserving the leftover marinade for basting.2 Tbsp honey diluted with 2 tsp water along with leftover marinade
- Bake for 15 minutes. Remove from the oven, baste both sides with the reserved marinade, and return to the oven.
- Bake for another 15 minutes. Baste again on both sides.
- Increase the oven temperature to 450°F and bake for an additional 15 minutes, or until the pork is caramelized and slightly charred at the edges. Flip again if necessary.

- Remove from the oven and let rest for 10 minutes before slicing.


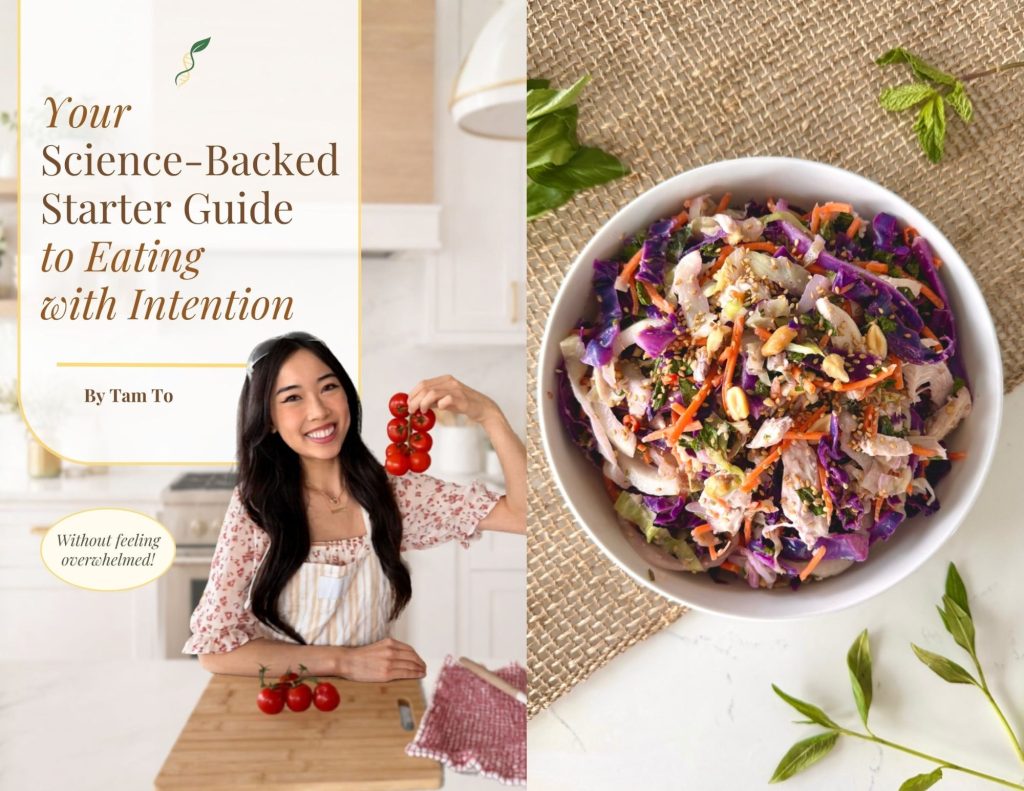
Hi, I’m Tam!
I’m a Vietnamese American and the creator behind this recipe blog. I was previously a scientist but now do recipe development and content creation. I turned my love for research and food into intentional, science-backed cooking…
Get free recipes every week!
Stay updated with the latest posts and join an awesome community 😊
More recipes you’ll like!


Sign up for FREE weekly recipes and nutrition news sent to your inbox ❤️
Discover more from Tam's Recipes
Subscribe to get the latest posts sent to your email.